All posts by mmcmanus

Travel Spice Packs; the essentials

I recently read some great posts on traveling including traveling and short term rentals. My favorite was one called The 10 Spices I Bring with Me on Vacation from theKitchen.com.  I started doing this a while ago. Traveling to my Moms house, often found a missing spice. Or just not very fresh ones. It actually started with coffee, but that is another story.

So seeing the story and having my own background. I decided to put together something for the larder that you can get yourself and carry wherever you go.  Of we we had to do it the Larder way.

We are going to offer 2 versions of the Essential Spice Kit. I really have to agree with the fresh ground pepper thing, but just can’t fit a grinder into the things.

Simple 6

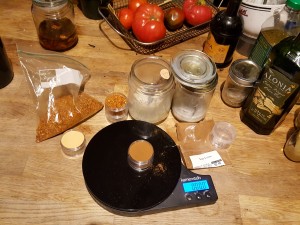
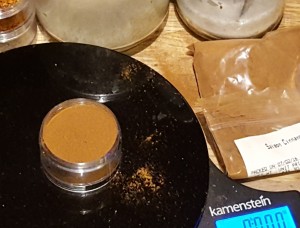
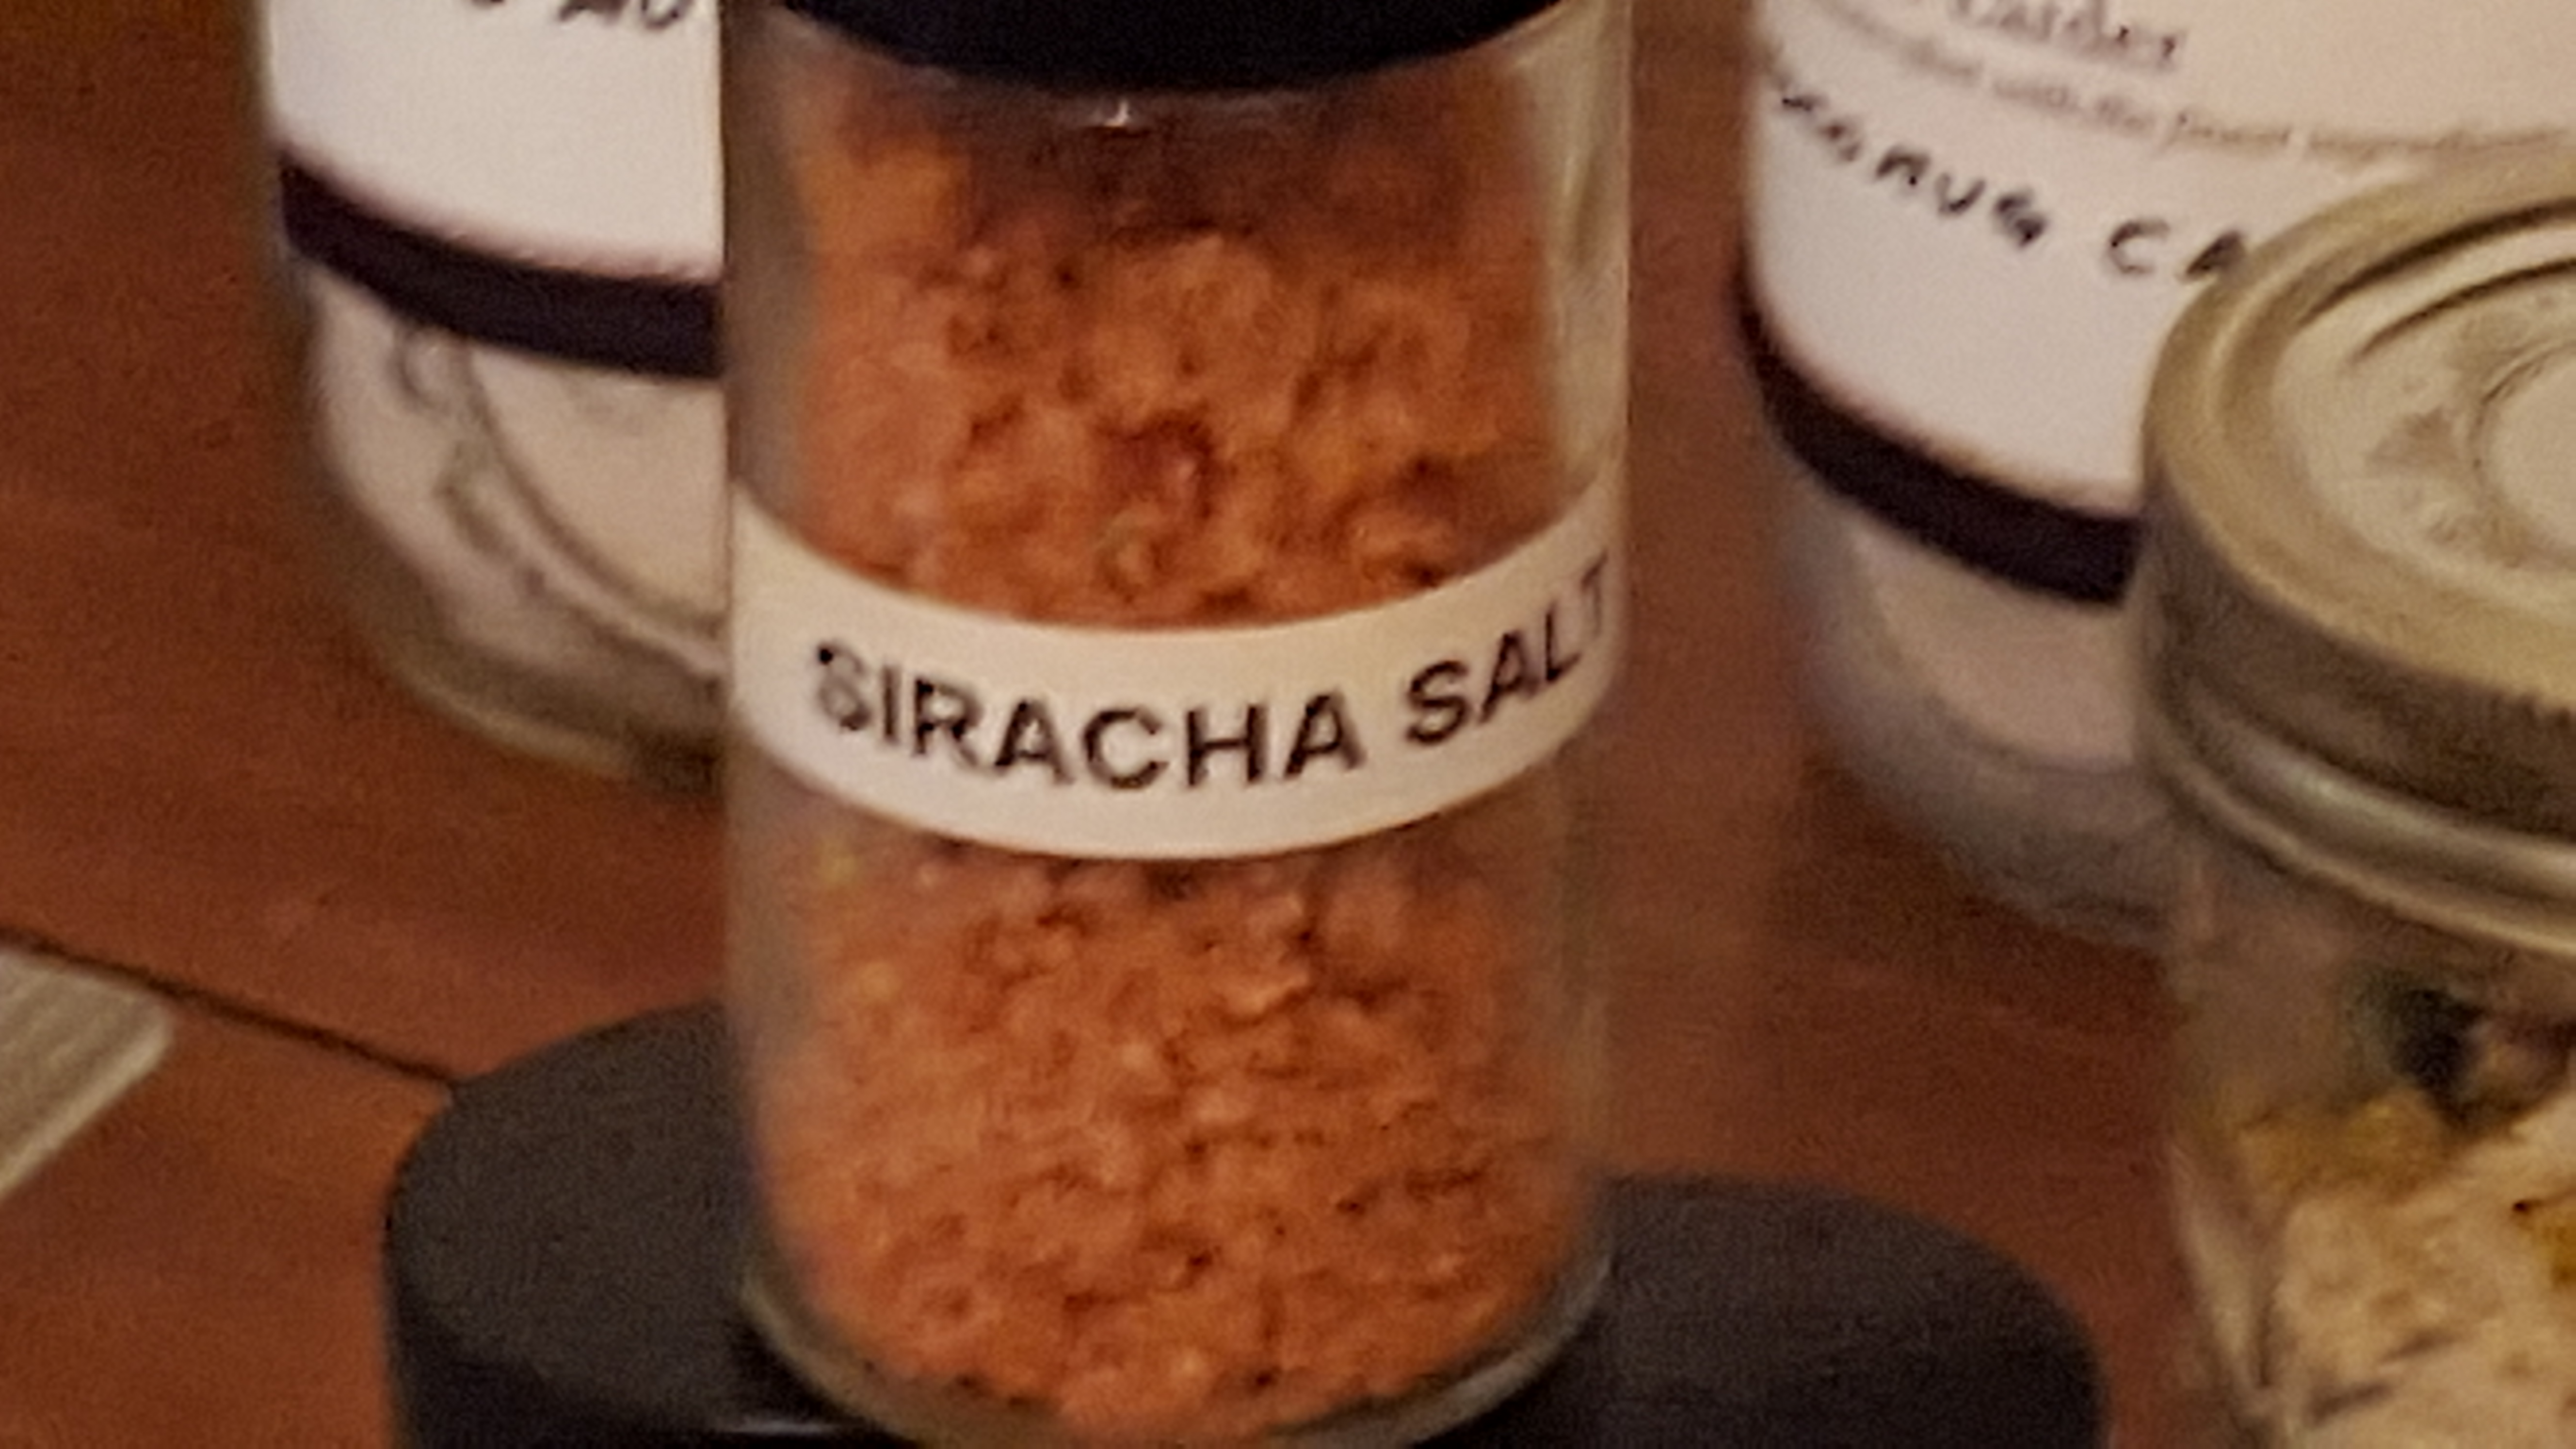
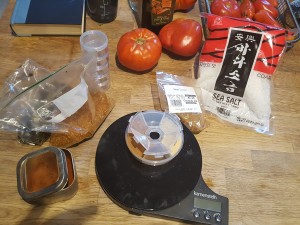
There is a small 6 spice kit; Six Essentials, in a cool round plastic container with pop tops to make them easy to use. Of course, the amount of spice in each slot varies a bit. But we have tried to include about one-half  ounce of each spice in the package.  The package includes Sea Salt, Garlic powder, Onion powder, Smoked Paprika, Artisanal Larder’s Devil Dirt, and Cinnamon. The container is 4 inches in diameter and 1 1/4 inches deep.

A little six pack
Preparing a little six pack

Essential 8

The larger 8 spice. Essential Eight holds between .5 to 1 ounces of each spice you do need when you travel. Each one of course varies just a bit based on the bulk of the item. The stack stands about 8 inches tall or laying on its side. The cylinder of spice is 2 inches in diameter. The Essential Eight are: Sea Salt, Garlic Powder, Onion Powder, Smoked Paprika, Artisanal Larder’s Devil Dirt, Cinnamon,

Get it and you are ready to go anywhere and still have your essentials. So get yours today.

Assembling the Essential 8
cinnamon
Adding spices

Time to make the Furikake

So this is the third batch of Furikake we are making. We have just given it to friends for tasting so far. Not like we have a tradition in my family for making this. Or, even for buying it, until the last year or so, But its become very popular in my kitchen.  We are going to start making small batches for sale very soon.

So first of all, what is it? Furikake, pronounced Foo-ree-kah-kay. I even say it right once in a while. Doesn’t matter, it tastes awesome and you really need some.  You can buy it at a lot of asian groceries. But, there is always a but, isn’t there? Well its MSG and other preservatives. I actually have nothing against it. Just prefer it without and to make it my own way. Its fresher and I tweak it the way I want.  OK, you waiting long enough. Its basically,  toasted sesame seeds, nori, bonito flakes, sea salt.  Well, and then go from there. Sometimes dried eggs, dried shrimp, and other stuff. It’s a Japanese seasoning after all. So lets not get carried away with details just yet.

I suppose you need to think of it like dry rubs. Who agrees on what should be in it? Talk to 3 people and get 4 recipes.

So I will give you some links for other recipes, in case you want to try. But here is what is going into ours today.

The main Ingredients
  • 3 Tablespoons toasted Sesame Seeds
  • 2 Sheets Nori
  • 1 Package of Bonita Flakes (.5 oz)
  • 1 Package Dried Shrimp  (3 oz)
  • 1 Tablespoon Miso
  • 1.5 Teaspoon Soy Sauce

I toasted the Sesame Seeds in a small pan. Just watched it carefully,  so they don’t burn.  Usually, I burn these things if I am not careful.

Toasting the Sesame Seeds

Mixing all the things

Furikake
All the things ready to make things tasty

Now its ready to use. And available at our store.


Making Pomegranate Molasses

I admit it, Food52 is causing me to make more stuff.  Well, maybe its not them, its still winter here and I want to make things in the winter. My little experiments in flavor. This time its Pomegranate Molasses. Looked easy enough, so went and bought juice. Here is the original article at Food 52 or at Alton Brown who I think had it long ago. And here is my attempt at it and how it went.

How it went making things

Slowly, very slowly. Maybe its just my desire to take things slowly. Or a gas stove that seems to have 3 levels; low, hot, hotter. So much so, I have a cast iron enameled topper for it. Which works great for slowing the cooking and spreading the heat. Even with heavy pans. I would recommend it. Would add a link, but I bought it at the Columbus Farmer’s Market a few years ago.

20160303_162652

Starting Pomegranate Molasses
Time to start Pomegranate Molasses

Things started about 5 one fine afternoon. Expecting to be wrapped up by 7 or 8. Mixing and stirring the 3 simple ingredients together.

Getting Started

Turned things down to a nice simmer after getting things just below  a boil and the sugar dissolved properly. Slowly simmering. And wait….

Waiting at 6
One Hour down

More stirring happens. And more waiting. This takes some time apparently.

Pomegranate Molasses
Stirring the Pomegranate Molasses
3 hours
Still making Pomegranate Molasses
Still not Molasses
Still not Molasses

This was getting long. Thankfully, I have books and the interwebs to use. I gave up on the last shot when 8:30 hit. But it did finsh up really well around then. And damn its delicious. I plan to do it again. Maybe a higher temp and closer watch.

Finished Pomegranate Molasses
Finally done…Pomegranate Molasses
Pomegranate Molasses
  • cups pomegranate juice
  • 1/2 cup granulated sugar
  • tablespoons lemon juice

This really isn’t hard if you have made Apple Butter or even caramelized(yum) onions. Put everything in a heavy-bottomed  pan. Over medium heat, cook, stirring as needed until the sugar dissolves.

Now, reduce the heat to medium-low and cook for 70 to 80 minutes(took me a lot longer). Basically, until things are the consistency of thick syrup.

Allow to cool for 30 minutes and then transfer the molasses to a glass jar to finish cooling, before covering for storage. It will keep, in the refrigerator, for up to 6 months.

Making Momofuku’s Soy Eggs

Yes, the Momofuku’s soy eggs have  been done everywhere, including food52 a month or so ago. I made them then and they worked perfectly following the boil, cook and cool method. Have to post my most recent experience making them.


Of course, there are about 100 ways to get here boiling the eggs and

Boiling Water
Water ready for the eggs

keeping the yolks so soft they spill out.  I used  6 minutes and 50 seconds in boiling water. Then there is a much the same recipe that calls for 5 minutes and ten seconds. Then there is my friends method of putting the eggs in cold water, bring to a boil and letting sit for 10 minutes. And Momofuku’s method of 41 minutes in  a hot bath. Well, you all understand. I was thinking of trying the last but no thermometer and my stove is finicky at low settings.

The second and third times, it did not work so well. Once the eggs peeled badly and the last time, urgh, soft-boiled eggs. But it was to late in the evening to make a dinner for 6 eggs. But then, I forgot the “Boil” for 6:50, and turned off the heat.  I really should pull out my Escoffier and see what he says about this mess.

Cooling the eggs
Melting the ice

So, off to boiling the eggs, plunging them into ice water and cooling the wonderful little shells of joy. Here is the basics of the recipe.


Waiting on the eggs
Waiting for the noms
Momofukou's Soy eggs
Momofuku’s Soy eggs

Momofuku’s Soy Eggs
Makes 6 eggs

  • tablespoons warm water
  • tablespoon sugar
  • tablespoons sherry vinegar
  • 3/4 cup soy sauce (we used low-sodium—if yours is regular strength, you might want to err on the side of shorter marination time)
  • large eggs

Cooking and peeling went well, this time. The simplicity of this recipe and the delicious result, make the repeated efforts to get the eggs correct worth it.  For a week after you have a wonderful bit of sunshine to put into your salads, on your soups or just to nipple on for lunch or snacks. The sweetness of the sherry and salty umami from the soy are perfectly matched here and don’t overpower the egg itself.

Try them. You’ll become a champion for them.

Wait…footnote:

I love everytime I make them while a stir the eggs….I get to lick my fingers. Yumm.

http://food52.com/recipes/35930-momofuku-s-soy-sauce-eggs

Our Flavored Salts

We have created a variety of flavored salts that satisfy our desire to add a little extra to you experiences. They can be used as seasoning salts or as finishing salts, depending on you desires.

We started with of course, Siracha salt. This adds an special bite to anything its added to anything its added to. We take the Siracha and mix it with our course salt just to the point it can’t take anymore. Then let it dry out a bit, so there is no caking. Simple enough, but tasty, none the less.

Our next blend is something everyone knows in some fashion. Celery salt. To make it we don’t use juices or chemicals. We dehydrate fresh celery and blend the result with our salt. Though we crush the dried celery, you will fine small bits of it preserved in with the salt. An awesome addition to salads or to finish some fish.

Of course we have lime salt. Handmade using fresh lime zest blended with into our sea salt.

Our latest creation and one I am very excited about is Bloody Mary Salt. Its a mix of our Hotter than Hell pepper mix, dehydrated celery, a bit of Worcestershire sauce to finish it off. All blended into our awesome sea salt. It even smells like a Bloody Mary! Use it to salt the glass, top off your drink or however you desire.


And there are more to come